12/26/2017

If you don't already know it, there's a group on facebook called Ice Drop Addicts, and have plenty of pics and patterns in the files.

Shuttle tatted with Lizbeth size 20 thread, color 151 Angel's Love.   So,  I finally got a chance to make another ice drop... I think this is my fouth one. I had lofty dreams of making the pink fudge drop, but things kept going wrong. First I strung my beads, then as I was tatting the 2nd row, I realized that I had actually decided to change my ice drop center and now those beads were not going to work. Then as I go along, I realize that the thread is disappearing way faster than I thought it would, and I was going to run out. Lastly, I had a knot in my thread, that made me wonder if I was going to have to cut.


So, I just decided to do something that would use less shuttle thread, and leave off the beads, but then realized I could get in some different beads by connecting the chains to the picots with a bead in there. Better than nothing. I ended up having to take the last bit off the shuttle and finger tat it, and was lucky enough that I got the little knot in a place that was not a slip to close spot, and tatted it in! Well, this is my 'I winged it again' ice drop!

12/23/2017

This is Patrizia Pirocca’s tatted Angel pattern, which I adapted into cro-tatting.   I know the tatted version will be more delicate looking, but I just wanted to do it now!    It took me about an hour to do the angel, and then I painted on Mod Podge glossy on each side, letting it dry before doing the other side.   It kinda gives it a 'glass' like texture.   She came out pretty well, and I'm happy I was able to get something done so quickly, as my time is very busy right now.   I'm using a 1.5mm prym cro-tat hook, that I got  from: http://www.ds9designs.com/crochethooks.shtml    - bottom of page where you see the 3 black handle ones, and DMC Petra 5 in white/blanc.    I got the bead on a string of beads separated by little silver 'caps' at Walmart beading section, (if your walmart has a craft section)


12/05/2017

CRO-TATTED: 1.00 mm Prym/Lacis cro-tat hook with DMC Pearl 5 in white, 502green & 842 light beige brown. This is Doily no.6 from Annies Attic Dainty & Delicate Mini Doilies - found on ebay.
I have the Annies Attic hook and also recently ordered another 1mm and 1.5mm and 2mm Prym hooks from the bottom of the page here. I was happy to have the larger sizes because I’m using DMC Petra 5. Imagine my surprise to find out I was using the 1mm, by mistake. It is a little hard to get all the DMC 5 into the hook without splitting it, so mad at myself for not using one of the medium size hooks. 2mm would be too large for this, and should be used on DMC 3 or other 3 thread.    
 I think if I made it again, I'd look for a reg crochet hook to do the edge, that was just a little larger than the hook on the cro-tat hook, because I have a problem with making my chains to tight when I crochet.


12/03/2017

This is a real busy time of fall yard clean-up - especially when you let it go in the summer!   But I've finally gotten a little time to make another cro-tat snowflake.    Although many of the cro-tat books can be found on ebay, this one is like a needle in a haystack, A Flurry of Snowflakes:

I made snowflake no 1 with 1mm prym cro-tat hook & Hobby Lobby size 10 Artiste cotton thread in white porcelain.
I have to say I don't like the crochet picots, which seem to just look like lumps, compared to tatting picots. BUT! I did this one and there was a little error in the pattern, which made a little divot in the round that the first set of rings go on.

Long explanation:  The error is that it has you start off with slipping 3 st to get to the place for the first ring.   But then it has you do a chain 3 all the rest of the way around, and I kinda thought it would end that way, and make up the difference.   But when I got around to the end of the round, I couldn't go up to the ring with a ch 3, because I had to start the large outer chain from that point in between the rings. 
SHORT EXPLANATION:   Don't start with slp 3, but a ch 3, then into the middle of the next loop for the first ring.


11/20/2017

OOPS!   Looks like I forgot to share my cro-tat bookmark I made to keep in my recipe pages.    It's the same one I made before from Roger's Easy Beginner Cro-tat Bookmark, found here:
 https://craftree.com/get_attached_file/134


11/17/2017

Cro-Tat Ring Tips Snowflake

I made this Cro-tat Ring Tips Snowflake from MaryM's free patterns. This one is: 
http://www.reocities.com/mountainhome1999/ringtips.htm and I used Aunt Lydia's Fashion #3 thread, with the Prym size 2mm hook I just got. It is mostly crochet, with just the rings on the tips being tatting. It was harder for me because this is not slinky thread, but since I have some experience doing this, I was able to make it work. When I put the first ring on, I thought it was too big looking and nearly ripped it out and just did a 3 picot ring. But, I thought her picture looked good and I just needed to follow what she did, and it turned out great at that size, afterall.


10/29/2017

Blue Varigated Snowflake by MaryM

Blue Varigated Snowflake by MaryM Link (scroll down): http://www.reocities.com/mountainhome1999/bluevarigatedsnowflake.htm
Let me start by saying that the first round with inward facing rings and chains around the outside was very simple to get right. However, the next round where I had to join chains, created a 'backward' feeling, which I was able to solve eventually.

So, I made the first one, the blue one, from Thread Art Perle Cotton 8, color 519, with a 1mm Prym cro-tat hook. The thread is 2 ply and flimsy. I would be easy to pull apart, but with cro-tatting, you have to keep a little looser so you can pull the hook thru the stitches. The thread makes a limp project, as the thread has no body. I notice that my chains are al twisted at the connections.

So, I made another one, to see if I could find a way to join without twisted chains. My next attempt was DMC Petra size 3. color Blanc. I used the Annie’s Attic cro-tat hook (about a 6) This size helped me to scrutinize the chains better, and I worked out the problem. But on finishing, discovered that I had managed to twist the beginning chains, and that resulted in every ring going on the wrong side, with the picot bands on the opposite side as the ring’s picot bands in the center round. If you look at the bottom ring, at 6:00, you can see the chain going up on the left is twisted - the culprit, the first ring and so all are on backward. So.. I made a 3rd attempt to resolve the rings on the backside, and make sure why they are on the backside.

 I tried to use Aunt Lydia, but I just hate to try to cro-tat with thread that is not slippery, I really need to have slippery thread that lets the hook slide thru, so….

 For my 3rd attempt I chose Hobby Lobby’s Artiste size 10, 102 Porcelain. Used the Prym 1mm cro-tat hook with it. It is the smaller white one, at the bottom of picture. I managed to get all the rings face up, and the connections made with no twist! WOOT!

10/24/2017

Cro-tat Christmas Ornaments

Oh dear!   I bought a Cro-tat Christmas Ornament package from Enfy's Rainbow Valley Crochet and started making them, leaving my little mat (doily 6) unfinished!   I feel very naughty about that, and hope I do the right thing and get it done, as the devil is keeping track of all my UFOs :(    But these are so fun to make, I wanted to do them so much!   Sure they are not as delicate as straight tatting, but there is something to be said for ease and I like how the change between needle tatting and crocheting is easy on sore hands & thumbs. Also, it doesn't take a week to make each one! Well, I'm not giving up tatting, but I'm going to have fun with these cro-tatted ornaments.

Unless other hook is stated, I used the Annie's Attic cro-hook.
Oct 19, 2017 I made the "Stocking" using:
DMC pearl Cotton size 5, blanc & DMC Petra size 5, color 5666 (red)

Oct 22 Angel: DMC Petra size 3, B5200

Oct 23 Star: DMC Petra size 3, B5200   I sprayed it with Stiffen Quik and I don't know if it's user error, like I was too close maybe, but it made my stitches not be as visible and it left little fuzzys everywhere.   I also sprinkled with opalescent glitter which is beautiful, but camera barely picks up their sparkles.   I had a little hole where I didn't close the last part right and so I got another little piece of thread to close it, and was very surprised how white the new thread was when compared to the star, which the Stiffen Quik had apparently caused to lose its snow white color.  Still very happy with it. :)

10/19/2017

Fall Leaf Earrings

October 18, 2017  Unexpectedly got some free time today (hurt foot!), so... Finished my La Feuille Frivole, design by J. Paulson and found in the free patterns here: http://leblogdefrivole.blogspot.co.uk/p/patterns.html I used size 40 Lizbeth#136 Autumn Spice thread & shuttle. Beads put on picots with tiniest crochet hook. 2 full knots after stem bead, with a touch of Elmer's glue after cutting off ends and smoothing down. They are not perfect, but the little inner leaves are so small, no irregularities are even visible to the eye - might be more so with a solid color


10/16/2017

Started Doily No. 6 from Dainty & Delicate Mini Doilies, and just need to make a flower and do the edging on it.   This one will need ironing and spray starch (from the back only) to get the chains to not crumple up.   I'm a little miffed at myself, because I'm using #5 DMC Perle Cotton in #842 Lt Beige Brown, and #5 thread is PERFECT for the Annies hook I have, but I forgot what I was doing and picked up the 1mm Prym I have.   Well, it makes a nice tight ring, which I like, but is just a tiny bit too small and I have to watch that it doesn't miss a bit of the thread, creating a fuzzy spot.   Here's my progress:


10/08/2017

CRO-TAT Delicate & Dainty Mini Doily No. 1


Hobby Lobby's Artiste $10 Thread:
110 Country Rose
119 Aspen
202 water lily is a red, pink, white, green variegated


1.00mm Prym cro-tat hook
This small simple looking cro-tat doily took me over a week to make. There is definitely a learning curve to cro-tatting... and here I thought because I could crochet and tat, it would be easy.... So excuse my delirium when I enthusiasticly post 3 pics of my "I can't believe I finally did it" project. Doily no. 1 from Delicate & Dainty Mini Doilies (cro-tat). It's best to use a slinky thread when cro-tatting, and this is Hobby Lobby's ARTISTE, with Prym 1mm cro-hook.
I made this as the first from this book because I thought I’d have it done in an hour or so. Big mistake! If you have this book, save this one till you’ve made some of the others, because getting the chains that go to the rings (green) all the same size is a bear!

9/17/2017

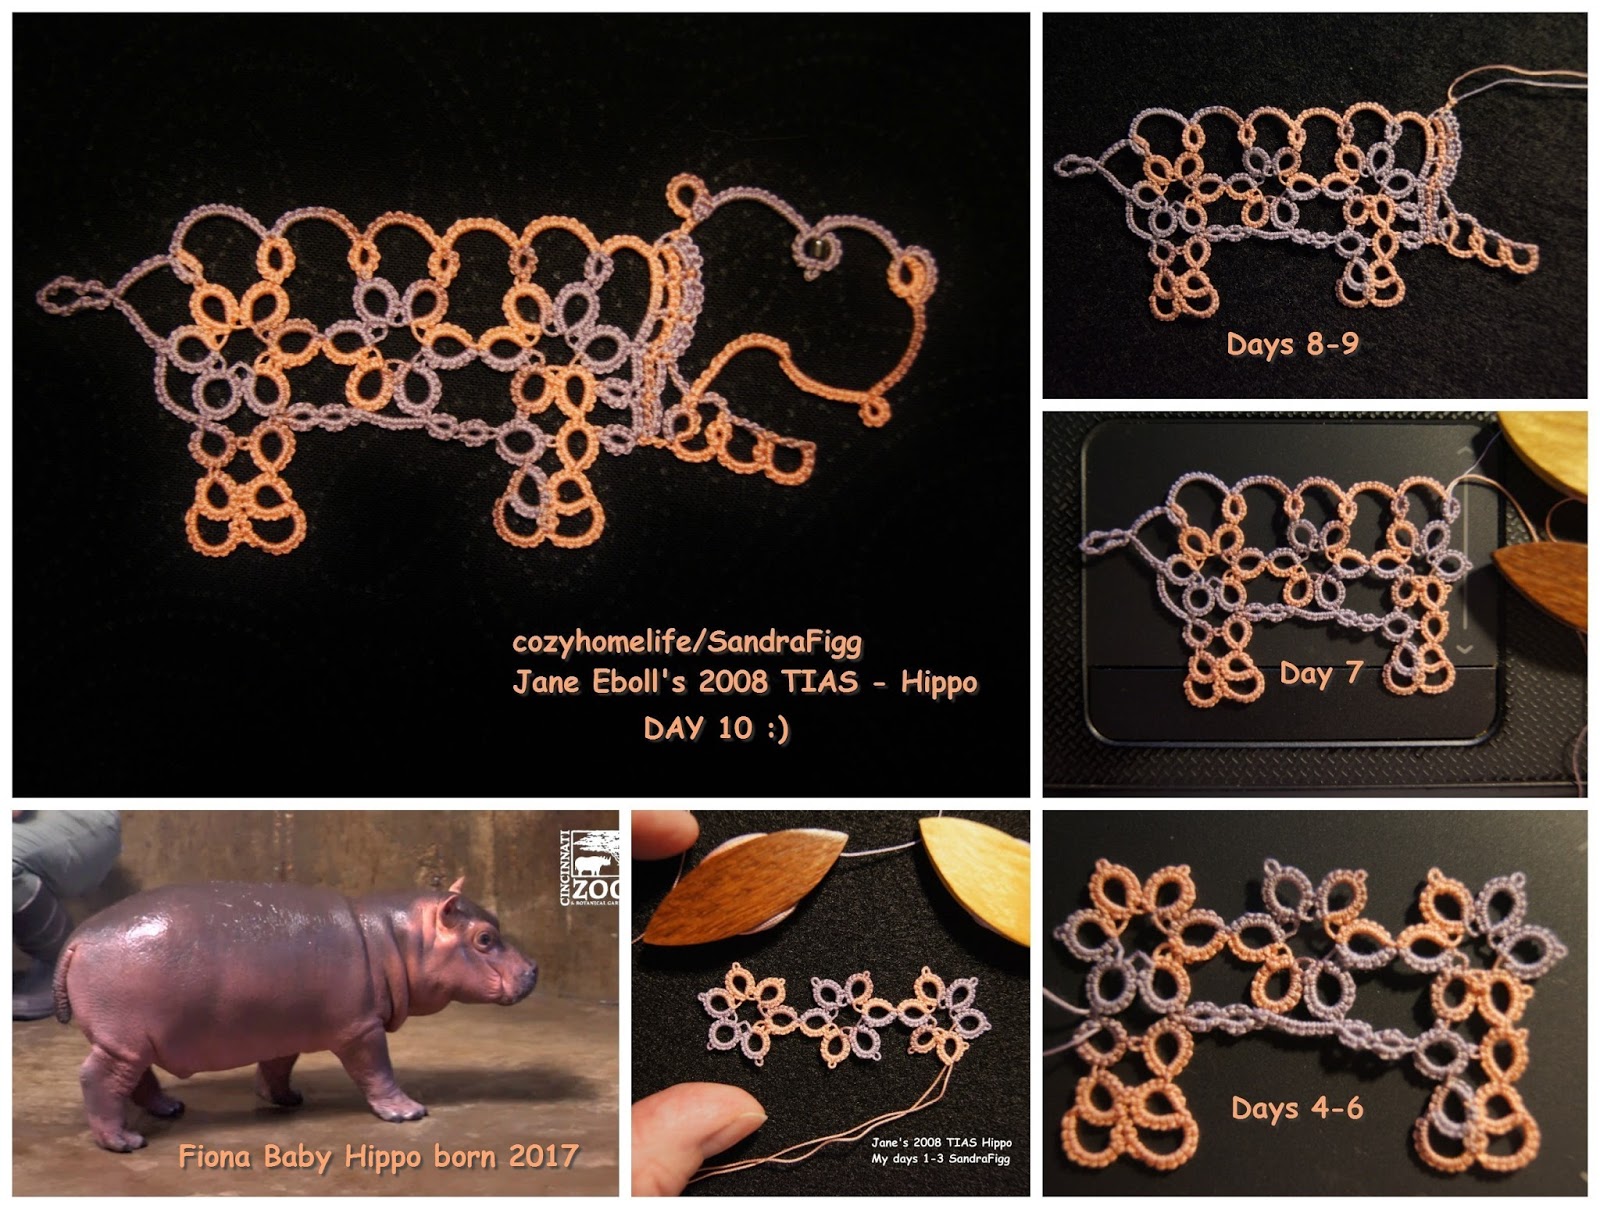
CRO-TATTING "AROUND A ROSE"

So... found another pattern in the cro-tat books and decided to try it.   My now I've tried many different threads to see if I could find any that worked better.  

1.    I have size 20 and 40 in Lizbeth, which is a tightly woven 6 cord thread, so not catchy, BUT that is way small for the size hook they sent.   It leaves the stitches too loose.    So I will wait to try it till I get my 1mm cro-tat hook I ordered off ebay.    The hook sent by Annies Attic, is about the size of a 7 crochet hook, and I rememered I had a size 3 sample from Lizbeth, and since the stitches with 10 were too loose, thought I'd try it.   It did make nice tight stitches, but bigger rings, not small dainty ones:


2.  I found that the Hobby Lobby thread Artiste, has a sheen on it, and so is more slippery, and that causes the hook to slip thru the stitches, rather than catch.  (In cro-tatting, you get the stitches off the needle by pulling the hook with a loop of thread, back thru the stitches, then catching a loop at both ends to close the ring)    Still loose, with this hook we'll see how the 1mm works with the Artitste thread, which is the least expensive solution to good thread to cro-tat with.


3.   Then I remembered, quite some time back, Walmart had a clearance on a bunch of some kind of thread skeins, and I bought a dogs load of it, at something like 10cents each.   I thought I could make Barbie clothes with it, as I had 2 Barbie pattern books.    I did make half a Barbie top... she's still mad about that...I wonder where that is now....     But,  I couldn't remember what it was, but knew it was not cross stitch floss, with the 6 strands for separating.    Turns out that it was DMC Perle Cotton 5, and I have a whole drawer of it.   Again this thread has the important charicteristic of looking shiny and that makes it non-snaggy!

It reminds you of long hanks of wool yarn, because it is a large loop of thread, that is tied and then twisted into skeins to keep it in order, then you have to decide how to handle it when you open it, so it doesn't fly into knots.    I guess many people wind it... but I'm lazy about some things... or maybe just work smarter, not harder...   unwound pretty easily from the opened loop, after hanging it from a cabinet knob, by my desk.

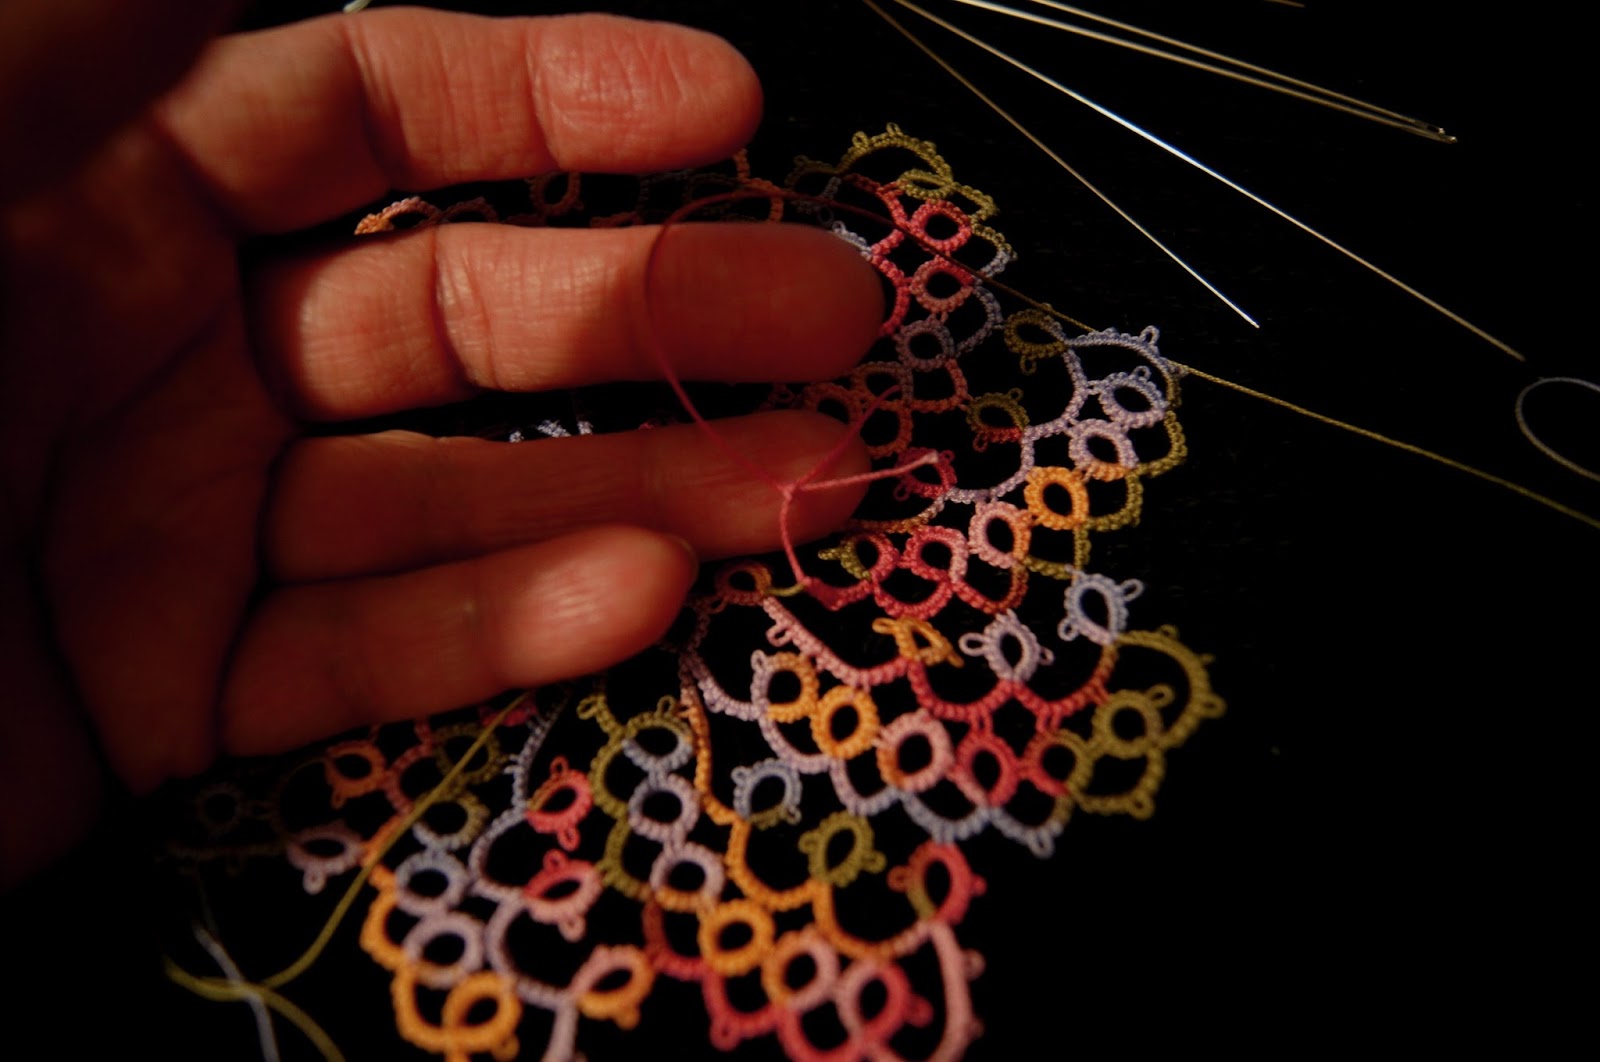
So, with this discovery of nice shiny slinky perle cotton #5, I chose another cro-tat pattern and it worked wonderfully.   

This pattern is from Annie's Attic #873717, "Crochet Baker's Dozen Pot Holders". Pattern by Elizabeth Ann White. Using the Annie's Attic cro-hook with hook size appearing like size 7/1.65 crochet hook.

This comes with a front and back body (not the rose), but since a pot will never dare to touch it, on Rnd 11- I di NOT fasten off, instead finish last ch as -ch 1, dc in last ch 3 of starting ch, which put me in the middle of the chain for the next rnd. Then go straight to the 2 rnds of edging. I do not see this as a pot hold, but decorative, like a doily.
Even with only one thickness of the body, I was lucky to finish the ecru crocheted area with about 2 yds left over from the skein of 27 yds. I used about 2/3 of the other 2 skeins.    I see a large improvement in this second cro-tatted project, from the first one.


9/13/2017

Shuttle, size 40 Lizbeth #114 Sea Shells, 2 shuttles CTM.  So, I happened to run across the tat-a-long from 2008 that Jane Eborall did, and it was a hippo.   Since we've had a new baby hippo at our local zoo this year, and have enjoyed seeing it's videos as it learns to do things -so cute - I thought I'd give it a try.   Jane's tat-a-longs always push the envelop and force you to learn new things -hope I can keep up!   I had no idea at all how much thread, so wound 2 shuttles CTM with 5 arm stretches on each... we'll see.   UPDATE:   Plenty of thread on my tiny tiny shuttles, with plenty left over :)

OH!   and I followed Mike Myers lead about doing an 'open mouth' version.

I learned so much, thanks to Jane Eborall's cunning split ring wizardry!


9/08/2017

CRO-TATTING, FINALLY LEARNED IT!!!

Another diversion for me.    Tonight I've done something that has eluded me for years!   I finally 'got it' about cro-tatting.    The thing is, I shuttle tat, and can also needle tat a bit, so I would probably not go trying cro-tatting at all, if it weren't for the fact that some years back, before I tatted, I had bought about a dozen cro-tat pattern books, and then found I couldn't figure it out at all!   Later, when I got on ravelry, I saw a group about it there, and tried again and failed again.

BUT!   tonight while looking for something completely different, there was one of my purchases - a cro-tat pamplet, with cro-tat hook and small amount of thread in it.    I tried again, and again watched the same videos I have before.  The ds is very much like doing it with needle tatting, but the part I always failed at was getting the hook back thru those stitches, much the same way that you make a bouillion stitch.    

As it happens, the thread they put in this kit was about size 10, but seems to be 2 ply, AND the slightest tug on it and it just shreds apart, like you were pulling on a cotton ball!   I kept shredding my thread and so thought, I'm just going to keep going, this is only practice anyway, BUT, I will need to make my stitches a lot looser if I'm going to do this without shredding the thread.   BINGO!   What had stopped my success before was putting on the ds as tightly as I do on a tatting needle, and no hook could pass thru them.  Now it is finally moving thru, unhindered.   My first practice flower was a real nightmare, so uneven and showing no promise.    But, the second one improved enough that I decided to start making the next pattern that has the flower for the center and then a simple set of rings around.    Well..... my rings are all different sizes, and looking very odd.   Yet, somehow I am delirious with the prospect of actually being able to make all those patterns I bought before!    I will finish this flower coaster thing, and then, see if I can graduate to a better thread.   That is another problem with this, it can't be pulled tight, and however you do manage to get the stitches to form, they just start going limp and sliding out, picots disappearing completely.   But if not for this terrible thread, I'd never have understood that my stitches were too tight, and learned how to do this!   

These are both pretty horrible and wonky, but I'm excited to see even a small improvement in the second one, and so you see I've added onto to start the coaster from it.   Worst one on top, the somewhat better one on the bottom, compared to pattern pic.


The outer rings on the pattern are my next problem area.   All of the 3 rings I've made are different sizes, and look pretty lopsided and wonky, but I hope to gain experience as I go, and have them start improving before I'm done.   You really can't take them out like you could crochet.   It is just like regular tatting, once you've closed it, you'd pretty much have to cut it out to re-do any part of it.

I also tatted on my Fiona hippo last night A.M. hours, and my Spinning Wheel Glass Mat brown & ecru version, this afternoon.    But tonight I learned cro-tatting!   WOOT!

Later Friday, 9:46pm:  
Well, it's done ~ and it's wiggly and wobbly, but I'm just tickled that I was able to do it!


9/03/2017

Sept 3, early Sunday, 4:30am


So, I happened to run across the tat-a-long from 2008 that Jane eborall did, and it was a hippo.   Since we've had a new baby hippo at our local zoo this year, and have enjoyed seeing it's videos as it learns to do things -so cute - I thought I'd give it a try.   Jane's tat-a-longs always push the envelop and force you to learn new things -hope I can keep up!   I had no idea at all how much thread, so wound 2 shuttles CTM with 5 arm stretches on each... we'll see.   Hmmmm...  I'm thinking I shouldn't have wound CTM, as I'm just making rings with no chains, so if I had not done that, I could have hid my first thread as I tatted the first ring... NUTS!   I am at the last ring, ring 6 and it is a split ring, so I need to re-visit how I did that on her last tat-a-long.  That will wait till tomorrow though, as it is 4:30am already!    I'm trying Lizbeth size 40, #114 Sea Shells to match her colors!

Sept 4, 2017 = Days 1-3 of 10 days:
I usually get a lot of tatting done when I'm having health/pain issues.   It keeps me from wilting and entertains my brain until I feel better, and can get up and work again.  It has been tatting time around here, with my fibro acting up, but yesterday(Sept 5) saw no tatting at all, as I had a tiny, almost invisible demon from hell insect, outside, stung/bit/I don't know what and injected liquid fire into my hand!
Sept 6, 2017 = Day 4, thru wily split ring maneuvers, a leg appears!    


You can download the pdf for one concise pattern, here: http://janeeborall.freeservers.com/Hippo.pdf http://janeeborall.freeservers.com/Hippo.pdf-but the day by day tat-a-long actually has more detail, as there is a graph for each day of a small area to do.

In the right frame of the page, under January, there are links to 8 pages of finished projects!

Day 1:   http://tatitandsee.blogspot.co.uk/2008/01/day-1-of-first-tat-it-and-see.html
Day 2:   http://tatitandsee.blogspot.co.uk/2008/01/day-2.html
Day 3:   http://tatitandsee.blogspot.co.uk/2008/01/day-3.html
Day 4:   http://tatitandsee.blogspot.co.uk/2008/01/day-4.html
Day 5:   http://tatitandsee.blogspot.co.uk/2008/01/day-5.html
Day 6:   http://tatitandsee.blogspot.co.uk/2008/01/day-6.html
Day 7:   http://tatitandsee.blogspot.co.uk/2008/01/day-7.html
Day 8:   http://tatitandsee.blogspot.co.uk/2008/01/day-8.html
Day 9:   http://tatitandsee.blogspot.co.uk/2008/01/day-9.html
Day 10: http://tatitandsee.blogspot.co.uk/2008/01/day-10-last-part.html

8/30/2017

August 27, 2017  I started this one, the day after I finished the last one.   On the last one, I started the first center ring normally, doing FS/BS tatting. Because there was a definite back, I could not turn it over and so mine came out going in the opposite direction. The 3 ring row came out frontside, and the 6 ring row came out on the backside (needs rods). So this time I started the first center ring with rods and thought it would change that, that the 6 ring row would be frontside, but no, it's still backside. 

So, I went back to what I tried and forgot how to do in the first glass mat - making my picot joins from the back (side thats away from me) when I'm tatting on the wrong side - so my joins come out like they are made on the front side and the blip is on the actual back side. I like this.  I may decide to make a video of how I'm doing it.

This is so stupid... I'm using size 20 Lizbeth in 603 Ecru and 691 Mocha Brown Med.   So.... it won't show well on a brown table, because the brown rings will disappear... and the ecru is like an off white, so it will disappear on my white coffee tables!!!!!!

About half done with this, and it's going well, but have been distracted by a hippo pattern, so Sept 3 am hours, are doing that - more in next post.


8/29/2017

Me thinks the pattern pic in this book is photographed the back, as mine swirls in the opposite direction. But perhaps I wouldn’t know which was upside down, if not doing frontside backside tatting…. on the other hand, it felt backward when working the pattern too. Not to mention it gets weirder when you hit the DNRW on the ends. I just look at my center rings and see which way they are facing and it’s easy to see if I’m on front or back. I took a pic and reversed it with the mirror image function, to help me tat it easier. But, I find I need both pics, because it’s in short rows instead of rounds, I have to have a front and back pic for when I’m working from either side. 
I notice I may run out of thread on the shuttle, so decide to do a shoelace trick while there is still enough on it to finish the chains. So I measure what it seems to need about 6” a ring and add about a foot for the new shuttle, and use the original for the chain. Well, the old shuttle chain thread began to get scarce and came off the shuttle and I had to tie the end back on to the ball so that I could work it up to the last inch…. or should I say the last HALF of an inch!!!  


That was literally all I had left and for the first time in my life I had to cut, tie and glue my ends! 
I somehow thought mine wasn’t coming together enough, after I made the last 9th ring, and thought I’d have to add a wedge, but now, I didn’t. Unfortunately, by the time I realized I wasn’t adding a wedge, I had already not joined the 1st and 9th center rings together and had to tie the picots. A bit fiddly meeting the picots on the last last row’s rings and beginning rings together, but do-able with folding.

Lizbeth Size 20 Thread in 154 Wildflower Garden


8/20/2017

August 18, 2017  I got some new thread and needed something to release some pent up anxiety, so started a project I've had on the list for quite some time.    Seems the pic in the book is face down, and so when I look at it, it is backward from mine, which is crazy feeling.   I made a mirror image of it, to help my brain no wig out....   But, as you turn it over back and forth, I find I need both pics.


Most tatting is in normal rounds and so the picture is not a mind boggler when you look at it (or the diagram).   But in this case you are building arms to a spinning wheel, and so they need to go the same way you are working or it all gets topsy turvy feeling.

The pattern is Spinning Wheel Glass Mat, from Mary Konior's book Tatting with Visual Patterns.
Size 20 Lizbeth, 154 Wildflower Garden.   I will put my updates in this same post, rather than string them out, which gets confusing.    I'm using  1 shuttle and ball (CTM).   You can see how when on the right side, mine is swirling the opposite direction.   I will say that if I weren't doing frontside/backside tatting I could just turn it over, but I really do have a front and back.


8/15/2017

I’ve been goofing around doing something called KNOTTING. It’s so very basic, not like the most intricate craft one can do, and in fact, I may never get past just making the knots, but thought it would be fun to try it. What it is, is a heavy thread that kinda uses a shuttle - like the very old pics you might have seen with victorian woman and huge shuttles that were open at both ends - they are actually knotting shuttles. They would make knot after knot and it would make a result that was kind of like the fore runner of chenille. 

After making yards and yards of it, then they could make a shape with it. The same way you might find a shape in a child’s coloring book, and the black line is drawing the shape - that line would be like the knotted cord, drawing the shape and couching between each knot to keep it in place. 
Then they could either embroider inside it, or fill it with more cording, or leave it empty. I have no idea which was the most popular back then, there is limited info on it. There a 4 knots to learn. I have 2 links to pages, one has an explanation and things to see, but the other actually has videos. Then I’ll show a pic of my first attempt at knotting. It’s not much to look at, but actually very soothing, as it takes no brain power at all, so good if you just need to relax and not think to hard! I’m actually using a large clover shuttle and #3 cotton thread. My knots still need to be closer together, but are a lot closer than in the beginning. The last ones I made are nice and close.


It takes practice to get theIt's  
There are 2 fabulous links below my pic that shows the difference between what knotting is and what tatting is, and how to do it, and what you can make with it (embroidery type projects).   Although not like tatting originally, it is thought that the use of the shuttle is the beginning of the development of tatting, itself.   

Be sure to scroll to the bottom of the quaintrellelife page, so you don't miss the wonderful examples of it as a finished project.

LINKS UPDATES OCT 19, 2023
Quaintrelle Life (archive.org)  scroll all the way down to the bottom!


7/31/2017

  1. JULY 30, 2017
  2. ROW 5: (green rings attaching to white chains) 
    I wanted to share what’s going on with my mystery doily. My rings were coming in too tight and not reaching to the next join from the previous ring withoug pulling it over. So I had to cut them off and change my rings to 7-7-7-7, After much thinking about why this is happening, I believe that the large chain that goes around the ring in row 5 should have been pulled tighter. If it were tighter, than it would have been closer to the ring, but by being out more, it has caused a larger diameter around - causing my rings not to fit. This is my first time to do this type of row and so didn’t know anything was amiss. I would like to make another, and this time keep the encircling chain just above the ring’s picot. 
    Here is how it is looking after I cut off my 7-5-5-7 rings, and used the 7-7-7-7 rings instead. There seems to be a much larger difference in the variegated green and the lime green, but in person, it is less obvious. I did look at mint green when I started this row, but, it was too blue, oddly.

7/25/2017

Analalea Tat-a-Long July 2017

I am working on the pattern Test Tat-A-Long from here (link below).  The steps are done with pictures, and when opened, some words.   Note if you are to cut thread after each rnd or leave it, very important.:
https://www.facebook.com/AlenaleaTatting/

My first start wasn't completely right, I could only get in 4 rings, while everyone else got in 6 for the middle.  I thought about squeezing the rings to elongate them, but resisted, and so only 4 fit.  I tried again and this time left a small 1/8" bare thread space after each ring, and it made the center larger, and all 6 petals fit.   Had a bad storm and did the row 1, the 6 petal one my LED lantern light.


The one that worked for me happened to be in vintage #70 thread, Star 103 Med. Pink, and for rnds 2 & 3, I used Star #155 Tinted White, Pinks & Greens.   Don't cut off the thread on the 2nd rnd, you just keep going around for the 3rd.

I finally finished rnd 4, which thoroughly kicked my butt. It’s full of all kinds of defects, but I was determined to finish and perhaps learn something that would increase my skill. I’m not sure I learned anything, except that need a lot more skill(!), but I DID finish!  I made it even harder than it already was, by deciding to make the chain that joins to rnd 4 the same color as the ring.   Usually, you change thread source between ring and chain.   If you keep the same, you have to use the shoelace trick to get the ring chain back on top, after reversing for the chain.  That left a little extra blurp in the thread, which was messy to me.    Fortunately, rnd 5 is an easy one, I will be happy to relax and do it!     Here is my complete first 4 rounds/rows.


7/23/2017

RETURN TO TATTING

POSTED July 23, 2017.   Been a very long time since I tried to use this blog. One thing that bothered me before was the smallness of the pics, but it appears that is better now. Lots of projects have been completed in the meantime, and I'll have to just muddle my way thru them here.

My intro into the tatting world: Many years ago… early 70s, I went to a tatting class of about 2 classes. It was funny because I was looking for the room with the tatting class and saw a class with all women in it and thought it had to be it. I went in and asked if it was the tatting class and they all laughed and looked at me like I was an idiot and said it was the accounting class. Well, anyway, took that class and made a cross bookmark that I gave away to hubby’s grandmother. I used #10 thread, with my metal bobbin shuttle. So years later I find the shuttle and decide to use sewing thread to try to make another one, because I thought that would be more like tatting thread, which one couldn't find anywhere, and no internet then. The thread would get little kinks in it, and if I popped the thread, they would pop out. But there was this one fatal kink that looked like the others, but when I popped it, the thread snapped! We had only learned the very basics – rings, chains, picots. We hadn’t learned how to add thread, or fix mistakes! I went screaming into the night, not to return to tatting for 40 some odd years.
 

Dec 2015, I was poking around in my hoarded up craft room and found the practice piece from that old tatting class and my shuttle:
 

As I picked up the shuttle, I was horrified to realize my mind was a complete blank, absolutely nothing was coming back to me! I realized I was pretty much starting from scratch and it was not at all like riding a bike (it doesn’t necessarily come back when you try it again, like bike riding does). So, I needed to just practice my stitches, and wanted to actually make something while doing it. My shuttle had tiny red thread on it (how'd that get on there?), and I knew I needed something larger, since I was back to beginner status. I thought and thought, about what I could put some #10 thread on so I wouldn't have to unwind all that tiny shuttle thread, and came up with wooden ice cream spoons, sewing bobbin, or pinch type clothespins, and made the simple butterfly from: http://www.tattedtreasures.com/2011/09/reading-patterns-and-making-projects-part-1/

 I took my time practicing the stitches and making them well, before I tried to make the cross again. Other's were making a snowflake from: http://teridusenburystattletales.blogspot.com/2014/09/tatting-snowflake-pattern-wheel-of-fortune.html?m=1 - but I didn't want to do a real project yet, where I might get stuck.  I wanted to keep practicing the little I knew till I was comfortable, and not sweating over simple stitches .
 As I looked at the pattern, I began to see an 'angel' in the edge of it, and decided that's what I'd do:


Learning to tat again from https://www.youtube.com/playlist?list=PL1F0C9E52018DDB0B and trying little motifs/flowers here and there, I was finally ready to attempt my cross again. I was able to find a cross that was so similar to the one I made in another workbasket mag, which I could no longer find, but the only difference was, this one had picots (silent t, sounds like pee ko).

It was in WORKBASKET V19, N.4 - JAN 1954, PGs 26 & 27. I like picots, so went with it, and finally made my cross, this time in size #70 vintage thread, found loads of that on ebay.